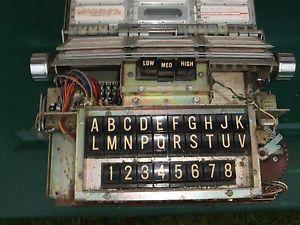
Seeburg Sc1

Home Forums Your work Seeburg Sc1

Viewing 4 reply threads
  • Author
    Posts
    • #43899
      Scudie
      Participant

      Before

    • #43901
      Scudie
      Participant

      Sorry to anyone who has just logged on and has looked at this expecting there to be photos of the project as it started, but due to my incompetence with computers, and the lack of any advice or tutorial on the subject I am afraid that there are no photos.

      Cheers Scudie

    • #43906
      Anonymous
      Inactive

      Hi Scudie and thank you for your post !

      it was not possible when you had tried to put a photo on the forum. I have modify the forum, you can now put your photo as you like !

      • This reply was modified 4 years, 2 months ago by .
    • #43909
      Scudie
      Participant

      [caption id="" align="alignnone" width="300"] As it arrived[/caption]
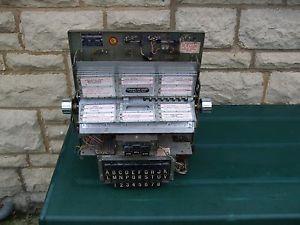
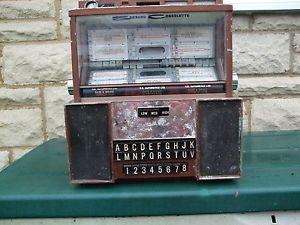
      Many Thanks to Gaëlle for the help in enabling photos to be uploaded easily.

      The three photos above are of my first Seeburg SC consollete’s that was missing  several parts, its lock and key,  speakers , credit unit, coin mechanism & bulbs, these were all absent and some of the glass was broken.

      It had been badly brush painted a nasty shade of brown.


    • #43925
      Scudie
      Participant

      This is the same wallbox after a trip to the sand blasters /powder coaters. If anyone is thinking of sand blasting / powder coating Don’t . In my oppinion it’s safer and achieves a better finish to have the case polished at a metal polishing company to remove the chrome, sand blasting does not remove the chrome. Then have it sprayed the colour of you choice, try to avoid having it baked in an oven it can & will deform the casing.

      Pits not quite finished in the photo, still had some minor parts to refit.


Viewing 4 reply threads
  • You must be logged in to reply to this topic.