
Tagged: Seeburg SC1 Consolette.
- This topic has 4 replies, 2 voices, and was last updated 4 years, 4 months ago by
Scudie.
-
AuthorPosts
-
-
21 December 2019 at 23 h 12 min #46784
MrMiller
ParticipantCurrent Work: https://www.youtube.com/watch?v=sUFCBkWf8C4
The led’s are installed using 144led/m addressable ws2812b led’s and a small music controller (with mic) installed in the lid alongside a 24ac/5vdc transformer to utilize the internal connector.
With this install the goal was to keep the wallbox fully functional and lid removable without detaching any wires or harnesses. Keeping this one coin-op.
It was a success.
More videos/pics to come as the wallbox is finished internally.
This one in the video is going to be on a lift mechanism and pop out of the top of an old floor radio when it’s ‘powered on’. The floor radio is being fitted with top end components geared towards reproduction accuracy and most importantly SPL.
I have a Seeburg service tech leather case I was contemplating having it pop out of the case with some seeburg speakers installed in the lid. That’s a possibility.
Whatever I decide to do this one will be an epic build.
I am working on 4 wallboxes right now 3 SC1 and a 3WA (looks like it is brand new, just got done refurbishing the rubber with 303 seal conditioner, amazing stuff.) If I decide to post on others I will create separate threads.
-
22 December 2019 at 20 h 49 min #46792
Scudie
ParticipantHello MrMiller
What great idea did you buy it as a kit? If so where from ?
I have fitted led strips to the inside of several SC1-4 machines but have not heard of these addressable ones before reading your post.
Mine are controlled by a small remote with the receiver behind a speaker grill.
How did you avoid having a cable to connect/ disconnect when removing or fitting the front cover?
Merry Christmas
Scudie
-
22 December 2019 at 21 h 46 min #46794Participant
I purchased all of the parts and soldered it up into my own kit.
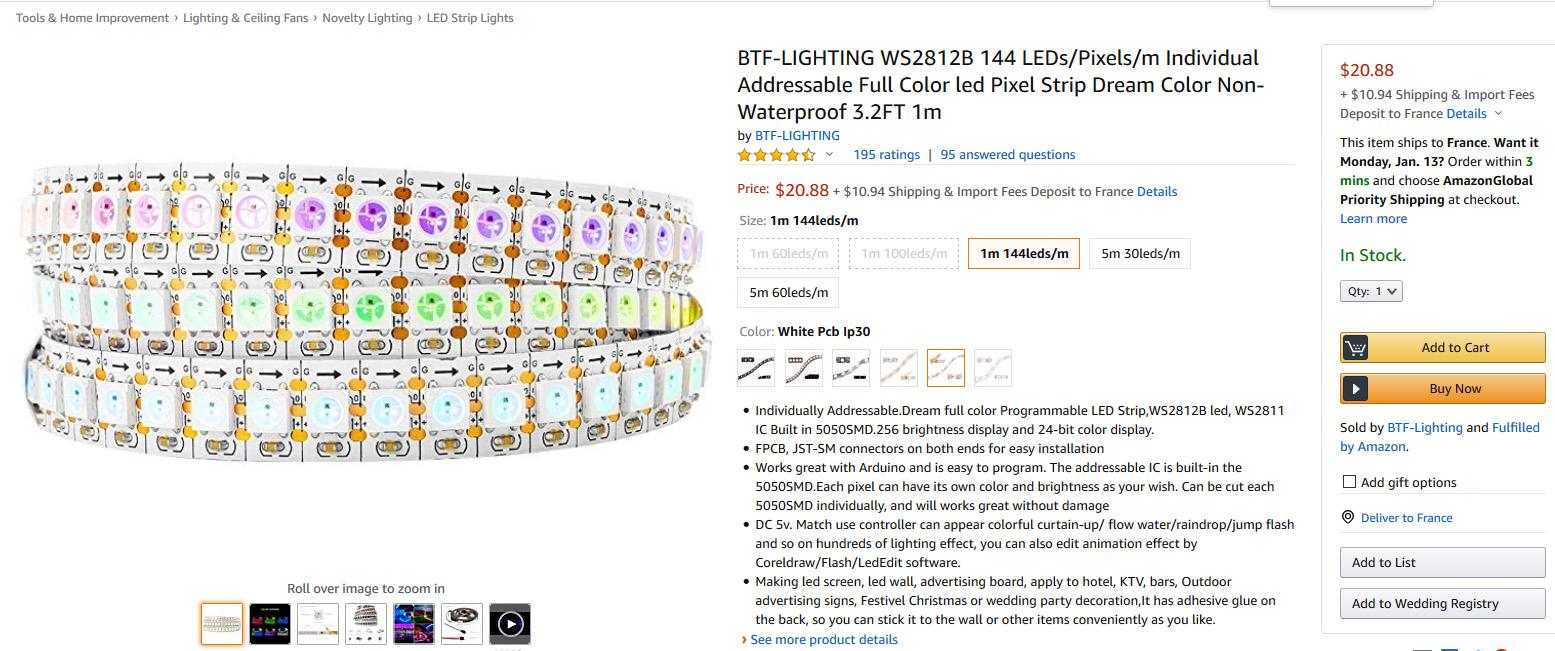
The LEDs are the 144 led per meter style for maximum density.
BTF-LIGHTING WS2812B 144 LEDs/Pixels/m Individual Addressable Full Color led Pixel Strip Dream Color Non-Waterproof 3.2FT 1m https://www.amazon.com/dp/B01CDTEGGO/ref=cm_sw_r_sms_apa_i_eds7DbE8F3GK8
The controller is off the shelf as well. Took a bit of soldering about 30 welds to wire it all to spread from the center and to break for the light fixtures to keep those original. Requires 2 tiny holes to be drilled that can’t be seen upon removal so I made it the least destructive modification as possible.
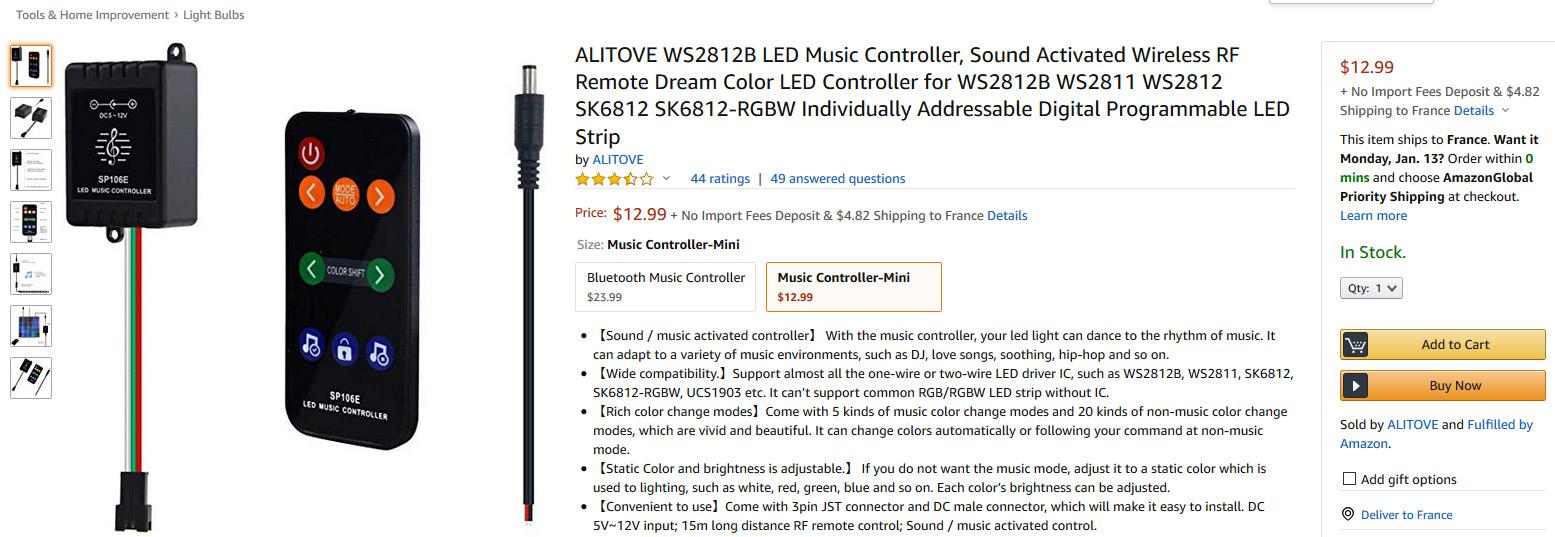
The controller board comes with integrated mic and an RF remote controller. $12.99us has limited programs but it’s the only mic integrated board that will fit inside the top cover.
Available under the name SP106E https://www.amazon.com/dp/B0792T73VB/ref=cm_sw_r_sms_apa_i_mjs7DbQQYJNG6
When wiring the LEDs the signal only works one way. I start with the wire in the center from the board and split that top and bottom to both strips.
Once it reaches the bottom strips the 3 wire power and data get wired up to the center of 2 strips turned opposite so the patterns radiate from the center outward. (Because data only flows one way to each chip).
Making them have a nice pattern is the key with a cheap controller.
For the top leds I used 4 separate led pieces. Radiating from the center out to the edge. It can be done in 1 strip but that will go over the original light fixtures. I just soldered those connections in place right on the lid to make it easy to measure and fit between the pins.
I always use real copper core wire that is tinned to resist corrosion, in high grade silicone sleeve. Having some white wire will make the install nearly invisible.
I squeezed 36 led on the bottom (could be 38) and 38 on top for a total of 74 LEDs installed nearly invisibly.
To power it I am using a board to convert 25vac to 5vdc. It barely fits. $10 on amazon.
Cost of project is about $35 using amazon,
about $20 ordering from china and waiting on the boat.
I have parts coming from the boat but I wanted to get prototyping asap. I spent much more on things that didn’t work out, not stable enough voltage or able to carry the load, too large of a footprint, etc.
Hope that helps. If you decide to pull the plug and buy the stuff i’ll pop the lid on Project A and take a video showing the connections.
-
This reply was modified 4 years, 3 months ago by
Klaatu. Reason: captures d'écran pour l'avenir, le lien peut disparaitre
-
This reply was modified 4 years, 3 months ago by
-
22 December 2019 at 21 h 50 min #46795Participant
35-50$ Not including soldering iron/wire/solder/vhb tape/etc.
-
23 December 2019 at 18 h 25 min #46799Participant
Hi MrMiller
Thanks for the info I might just give it a go on the next SC I do, if I understand correctly you fit one strip in the plastic lid and also another strip lower down? On the reverse of the black plastic personalisation strip perhaps?
Yes a photo of the inside showing the layout would be useful when you get chance.
Cheers
Scudie
-
-
AuthorPosts
- You must be logged in to reply to this topic.