Wallbox2mp3 Installation manual
Wallbox AMI W-120

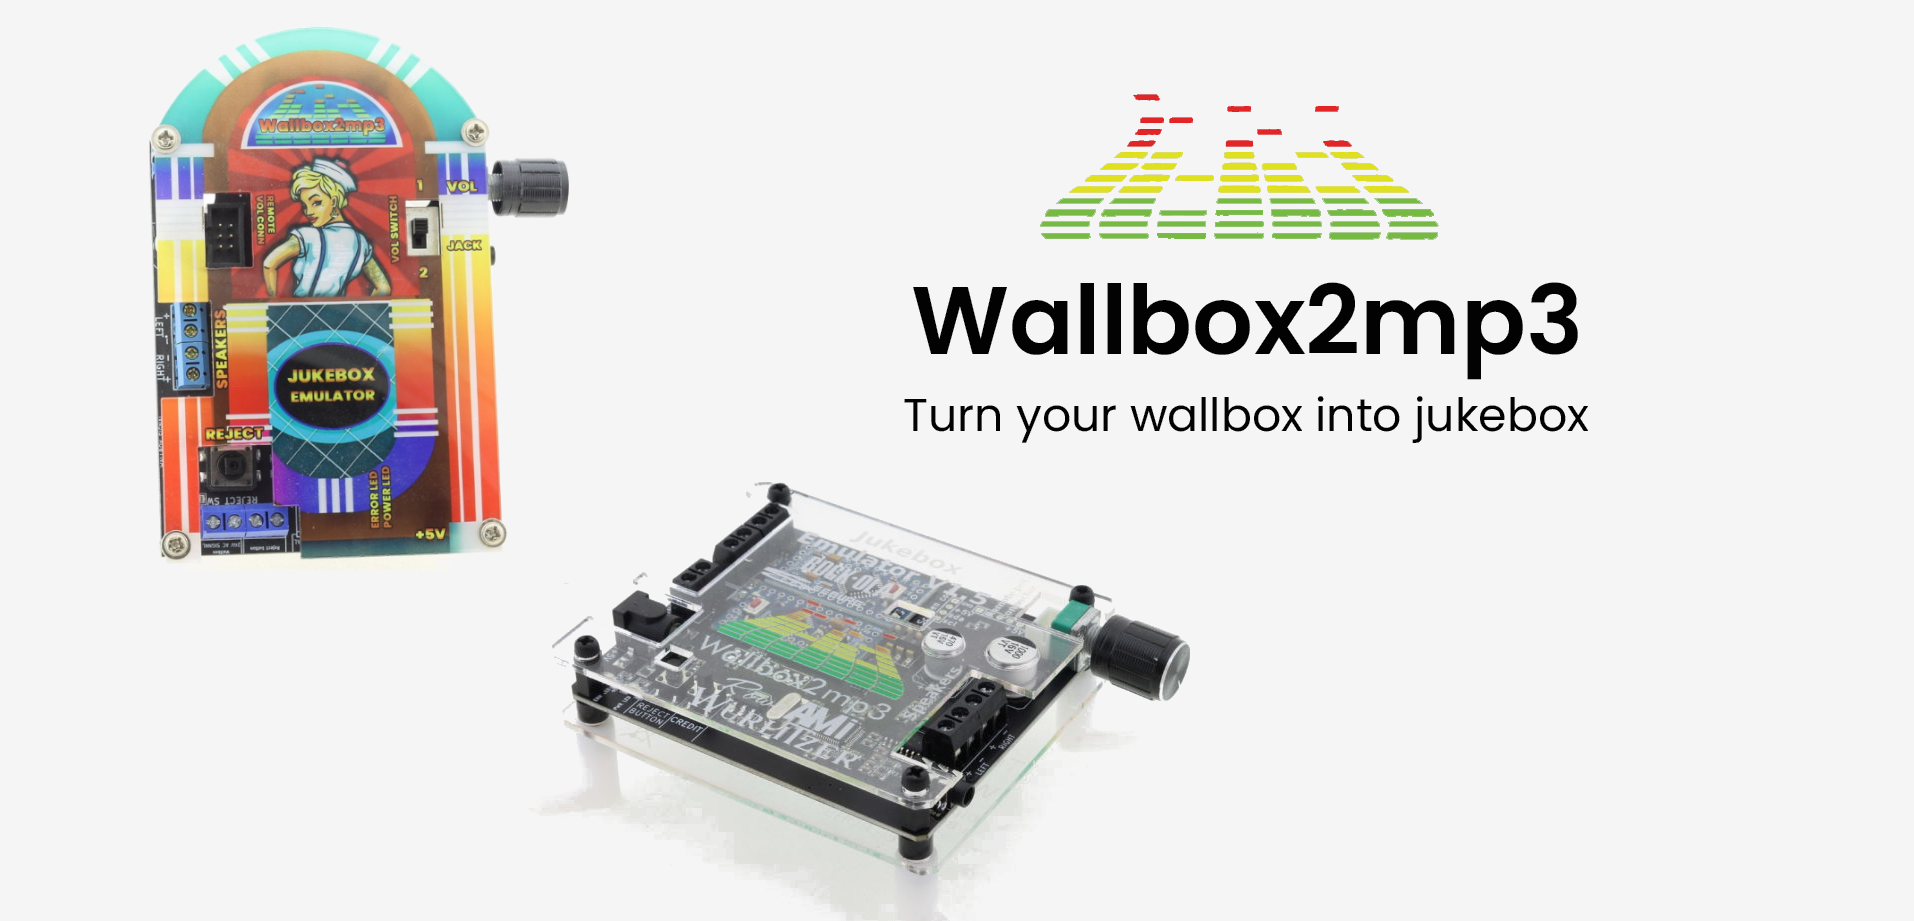
The Wallbox2 MP3 kit recreates the original operating conditions of your W-120 AMI Wallbox.
Basically,it emulates its original attached jukebox and just plays your selection
In this manual,we’re going to see how to integrate the wallbox2mp3 inside the W-120.That way,your AMI system will just operate as a standalone jukebox . Nothing else than the speackers and the power plug will stay outside of your wallbox
In less than 2 hours you will have achieved the installation of the kit and you’ll be able to enjoy long years of music you have just loaded in a single SD card.
This can only be done while removing the coin selector and the coin receptacle to free the space required for an inside wallbox installation.
Additional equipment required to equip W120 wallbox Ami with your wallbox2mp3 kit :
- power cord with plug (depending on your country)
- Fuse holder and fuse 1-2 amps.
- AC transformer 24volts 30-50 VA.
- Small length of flexible wire from small section (0.34 mm to 0.5 °)
To perform the installation exactly as we did,you’ll also need :
- 2 female terminals FAST-ON
- 3 fork terminals for M3.5 screws
- Forest diameter 2.5 mm. / 5.5mm
- Tap M3 / M6 mm
- Heat shrink tubing of different diameters
- Piece of double sided tape
Tools required :
- Screwdriver
- cutting pliers
- Crimping tool for terminals
- Drill press or portable
- Soldering iron + solder wire
Prior to installation :
Before performing the installation, you must ensure that the Ami W-120 is fully operational.
The various contacts of the encoder wheel should be cleaned.
(see below).
We recommend a complete disassembly and cleaning equipment before.
The wallbox will be freed from its former potential wiring.
The integration of the wallbox2mp3 inside the AMI W-120 :

Open the wallbox and remove the coin acceptor and the cash box.
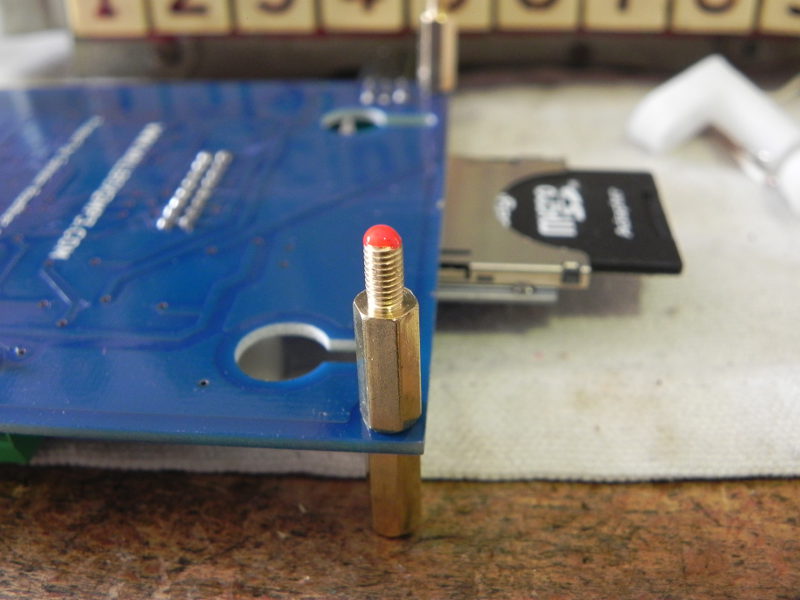
Mount the 4 spacers and screws on the PCB of the wallbox2mp3.
Put a drop of nail polish on the tip of the threaded rods to mark the location of the holes.

Apply the electronic board in the bottom of the wallbox to mark the drilling points, then remove the card.You now have your 4 marking points.

Drill the 4 locations in the consolette with a 2.5mm diameter forest
Then tap at the diameter M3.
Screw the 4 spacers supplied with the kit.

Install the card in the W-120 with the provided screws, tighten moderately.

We are now going to place and fix the transformer to the W-120

Mark the drilling of the transformer support (screw diameter 6), placing the transformer at 5mm from the bottom right of your wallbox .
drill the hole with a 5.5mm diameter tip.
Then tap at the diameter M6.

Put the screw supplied with the transformer into the metal cup, add the supplied silicone ring, pass the screw in the transformer, mount the second silicone washer and screw them in the bottom of the wallbox.
Tighten very slightly with a screwdriver, taking care to center the transformer on its axis. Output wires will be positioned upward.

The transformer of our example comes from RADIOSPARES. The outlet has two 12 volts windings we will wire them in series.
Connect together black and yellow wires and then isolate them with heat shrink or electrical tape.
The red and orange will be our son 24volts AC outlet.
The primary (230V input for our example), also comprises two 110 volt windings.
We inserted the fuse holder and fuse between the two primary windings.
The fuse will be connected between the gray and purple son. Blue and brown son will go to the 230 volts.
If your transformer has a single winding 230 volts, just insert the serial fuse holder on one of the two wires.
Optionally : how to integrate the 5V power supply of the wallbox2mp3 inside the W-120
We will now mount and wire 5 volts power supply of the wallbox2mp3 .
To do this we have a tip for do not end up with two power outlets to connect to the mains.
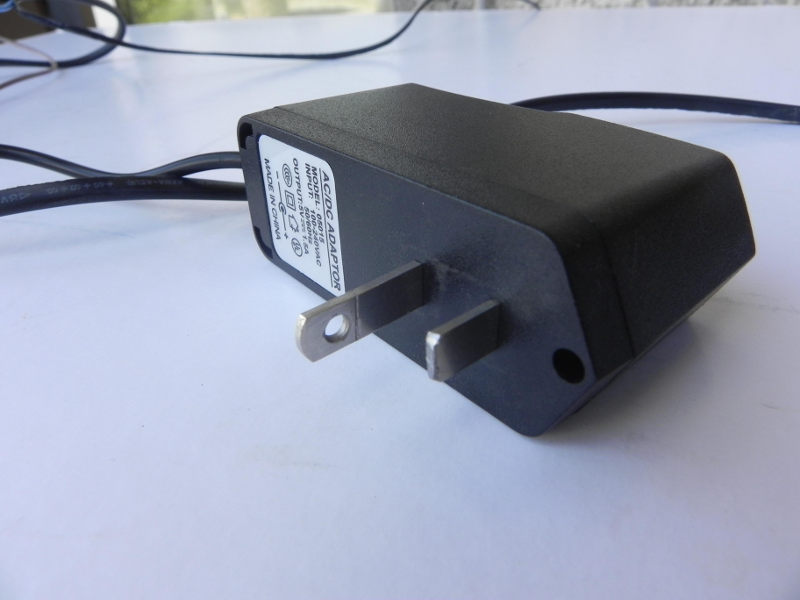
If you want to follow this optional tutorial , specify when ordering the wallbox2mp3 that you need a power supply with US plug.
cut with a saw, or a big clamp the two prongs of the plug two millimeters below the hole. (See marking on the spindle not cut) :


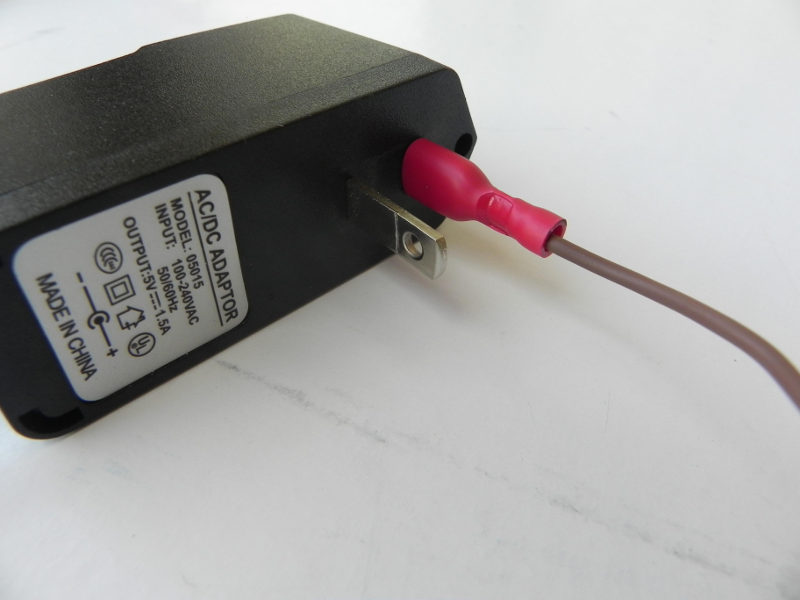
Crimp two wires on the FAST-ON female terminals , these must always be insulated models.
Spread a little inside the terminals with a screwdriver blade to facilitate insertion of the pins to the plug.
Carefully check that there is no metal visible, (the terminals must absolutely completely cover the connector pins)
Pull on the wires to check that the connections are strong enough
place the 5V power supply to the left of the transformer, you can fix it with a piece of adhesive on both sides.
Note: This type of arrangement is not prescribed, and is offered only as an example.
We can not be held responsible in case of damage or faulty installation.
In case you’ve decided to do this installation, this must be done with great care by a qualified person.Indeed,as your AMI W-120 is in metal and as we work with 110/220VAC , there is a real risk of death or fire .
This is how your work should looks like :

Gather the 220V/110V wires that power 24VAC transformer with the wires from terminals connected to the 220V/110V input of the 5 volt supply, pass the power cord with the AC outlet through the hole at the bottom right of the wallbox.
Gather the two groups of 3 wires and screw the wires on an isolated terminal.

We have decided to weld the wires together, and insulate them with heat shrink.
Please pay Attention, as AMI W-120 is made of metal, the wallbox is potentially conductive, be sure to take great care of the insulation of wires :

Bring both 24VAC outputs of the transformer to the terminal block of the wallbox located at the bottom right. Connect one of the two wires on the ground terminal (actually the frame), connect the second wire with an extra wire to the terminal 24vac (Red wire on the photo for example). Connect another piece of wire to the signal terminal (white wire on the example photo).
Connection from Ami W-120 side :


Connections from wallbox 2mp3 side :

Connect the two last wires to the wallbox2mp3 ,insert them to the terminals labeled :
« wallbox 24VAC/ signal »
Global view of the installation :

Finalize your installation by attaching the electric cables with some kind of necklaces (we’ve used LEGRAND COLRING ref: 32030 (RS 620-2549))
Remember to plug the 5 volts to the PCB of wallbox2mp3 .
Work has well advanced, we now need to configure your AMI W-120 for free credits as the coin acceptor has been removed.
Last Step : Configure your AMI W-120 for free credits
first,you’ll have to remove the label door :

Remove the four screws that hold the mechanism / keyboard set :

Unplug the connecting cable of the door label wallbox :

After removing the mechanism, do a careful cleaning of the code wheel.
This will ensure optimal and sustainable operation.
Do not disassemble the rotating contact harm of the wheel because the position of its axis is set precisely.

To the right of the pinion gear ,you’ll see a reed contact :

A bridging beetwin the two contacts will be done with a piece of wire that you will have to weld:

Once the bridge is soldered, the green light “make selection” below the label door will remain lit constantly, you won’t have to introduce a coin into the wallbox any more .
Your AMI W-120 has now been turned into free credits
Before reassembling the mechanism in the door, clean the contacts at the top of the mechanism. These contacts are activated when turning the pages of the door label,they contribute to the proper functioning of the wallbox, allowing it to know which page is currently selected.
Clean them using alcohol.

Place back the mechanism in the door with 4 screws, plug the label holder to the wallbox.
Check again your wiring, connect the power plug.
All bulbs door should light including the green “make selection” below the label door.
Press a keyboard button, you should hear the engine doing a ride and then stop.
If it works, plug the your speakers on the two connectors on the left of the map wallbox2mp3.
And here’s a perfectly functional AMI W-120 , a true independent jukebox with its integrated wallbox2mp3 :

The wallbox2mp3 software is available here
You can now turn on your accomplishment, and enjoy your work.
This tutorial was made with great care by experienced persons.
We hope it has given you ideas to lead out your achievement.
However, we may have committed errors or omissions.
In this case we would be grateful if you could report them,we will correct them.
In any case, we can not be held responsible for any damage to persons or equipment if we do not intervene directly on the machine.
It is your responsibility to evaluate by yourself your skill level, and to leave the work to someone qualified if you’re not skilled enough.
Wallbox3mp3 whole team wishes you to enjoy your wallbox well equipped for years.
If like us, you would like to help for the installation of our product on other wallbox, please contact us.
Your photo/videos reports will be published on our website with your agreement.
The wallbox2mp3 team thanks you.
